
Paving projects can be both satisfying and transformative for your outdoor spaces. Whether you’re tackling a new driveway, walkway, or patio, taking the DIY route can save you money and add a sense of accomplishment to your home improvement endeavors. Embark on your DIY paving project with confidence by learning these 10 must-know paving hacks, and if you ever need expert guidance, don’t forget to search for a paving contractor near me. To help you succeed in your paving project, here are ten must-know paving hacks for DIY enthusiasts.
1. Plan Thoroughly
Before you start, create a clear plan for your paving project. Measure the area, decide on the type of paving material, and sketch out the design. Planning helps you avoid costly mistakes later on.
2. Get the Right Tools
Invest in the necessary tools for your project, including a shovel, wheelbarrow, level, tamper, and a plate compactor. Rent specialized equipment like a wet saw for cutting pavers, if needed.
3. Calculate Materials
Determine the quantity of paving material, such as bricks, pavers, or concrete, required for your project. Overestimating slightly is better than running out mid-project.
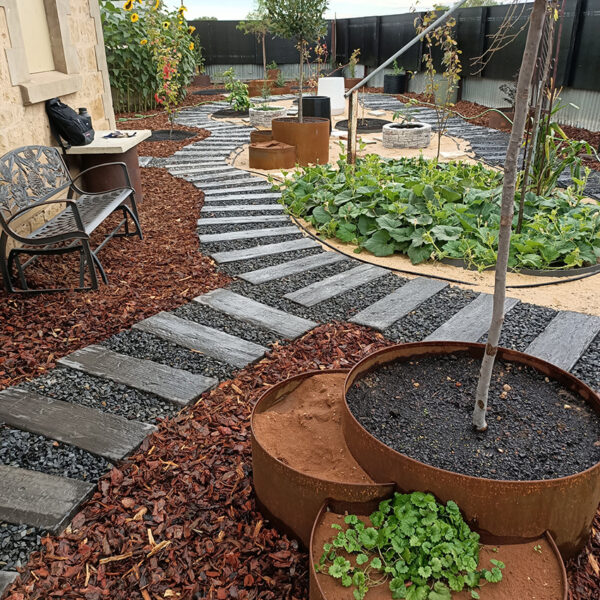
4. Proper Base Preparation
The foundation is crucial for a durable and long-lasting paved surface. Excavate the area to the correct depth, and then create a well-compacted base of crushed stone or gravel.
5. Use Edge Restraints
Install edge restraints, like plastic or metal paver edging, to keep your paving material in place and prevent spreading or shifting over time.
6. Start with a Straight Line
When laying your first row of pavers, ensure it is perfectly straight. This sets the foundation for the rest of the project. Use string lines and a level for accuracy.
7. Create a Pattern Guide
If you’re using pavers with complex patterns, create a guide by laying them out dry (without adhesive) first. This helps you visualize the pattern and make any necessary adjustments before permanent installation.
8. Properly Space Pavers
Maintain consistent spacing between your pavers. You can use plastic spacers designed for this purpose or cut pieces of a wooden dowel to the desired thickness.
Navarro Paving
9928 60th St, Jurupa Valley, CA, 92509
562-262-1446
9. Seal the Surface
Consider applying a sealer to protect your paving project from stains, weathering, and UV damage. Sealers are especially beneficial for concrete and natural stone surfaces.
10. Regular Maintenance
Once your project is complete, establish a maintenance routine. Sweep and clean the surface regularly to prevent weeds, algae, and debris buildup. Address any damaged or sunken pavers promptly.
Conclusion
While DIY paving projects can be highly rewarding, it’s essential to seek professional advice or even hire a contractor for particularly complex projects or if you’re uncertain about specific aspects of the job. They can offer valuable insights, ensuring your project is executed flawlessly.
With these paving hacks in your toolbox, you’ll be well-equipped to tackle your DIY paving project with confidence. Whether you’re a seasoned DIY enthusiast or a beginner looking to enhance your outdoor space, a well-executed paving project can add beauty, functionality, and value to your home.